4 Ways to Dry Hydrangeas
We tested four easy methods for preserving hydrangeas blooms so they’ll last all year long. Take a look at the results and learn the pros and cons of each method.
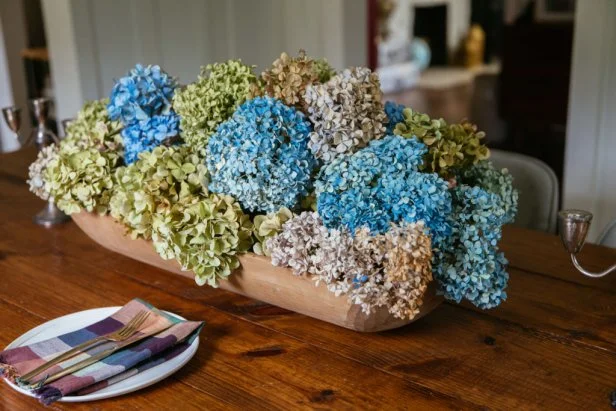
Sad to see summer fade away into fall? Yeah, us too. Especially the big colorful hydrangea blooms we adored all summer long. To hold onto these ephemeral beauties, we tested four popular ways of drying hydrangeas. All methods are very simple, and some didn’t cost us a single penny. Some required special tools and materials and the time it took ranged from hours to weeks. The results? The color and shape retention varied but overall, the results were successful, and we’ll be enjoying our hydrangeas all winter long. Take a look at the four methods and decide what works best for you.
Jennie Andrews
How + When to Harvest Blooms
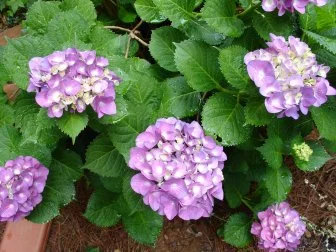
Whatever method you choose to dry your hydrangeas, harvesting the blooms at the peak time is important for producing the most beautiful dried flowers. Flowers not harvested correctly tend to wilt, wrinkle or fade to brown as they dry. Hydrangeas begin to bloom in the spring and will be their most colorful in the days to weeks immediately after blooming. But they will also be tender at this point. Look for blooms that don't have closed petal clusters. (These closed buds will typically be in the center of each bloom.) For traditional blue or purple varieties, wait as long as possible to pick blooms to dry, but do it before the color starts to fade or blooms start to turn brown. Some white hydrangeas turn pink as they mature on the bush, so in certain cases, waiting longer means better color. Certain hydrangeas dry better than others, so don’t be afraid to experiment.
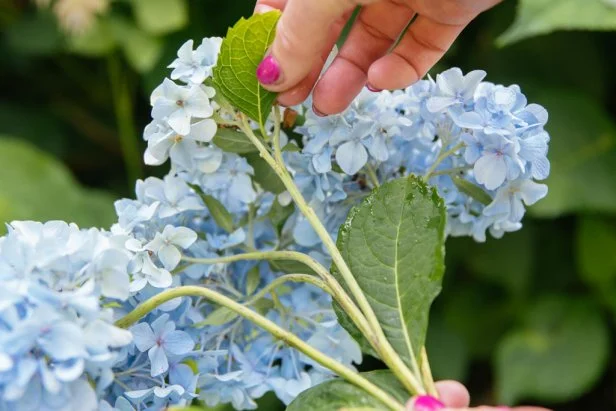
Harvest hydrangea flowers in the morning, late enough for any dew to have evaporated but before the sun has hit the blooms. The leaves of the shrub should not be drooping and the bloom itself should look well-hydrated and perky. Cut the stem at an angle 8-12 inches below the bloom with a sharp blade. Strip all of the leaves from the plant. The leaves will not maintain their color and shape as well as the flowers.
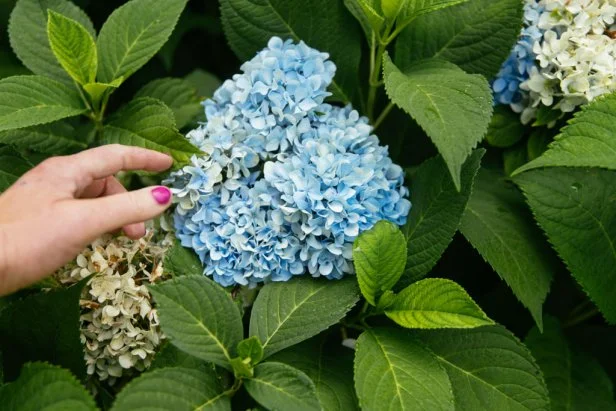
For drying traditional blue or purple varieties, wait as long as possible to pick blooms, but before the color starts to fade or blooms start to turn brown.
Jennie Andrews
Method 1: A Vase
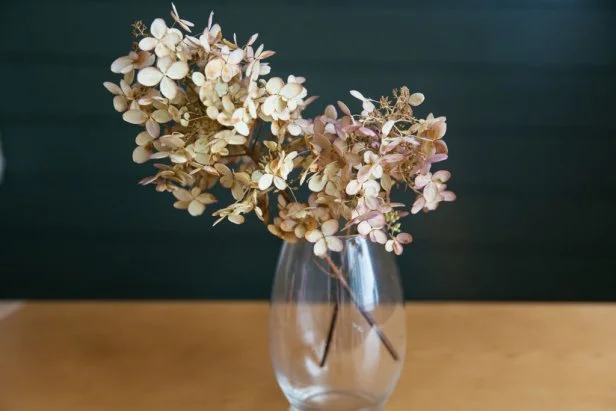
The vase method for drying hydrangeas is so simple that you may have already discovered it by accident. Immediately after cutting the blooms, place the hydrangeas in a vase with about 4 inches of water. Don’t add too many stems to the vase. Leave plenty of room for air to circulate around each bloom. Place in a dry spot with good airflow out of the direct sun and not a lot of humidity. The water will evaporate out of the vase, and as it does, the flowers will dry. Any excess water can be emptied and flowers are ready to use when the leaves develop a papery feel.
Pros and Cons:
While drying flowers in a vase is certainly easy, it does require a bit more patience than other methods. Blooms can take as long as seven to 10 days to fully dry. However, you can dry an unlimited number of blooms at the same time as long as you have vases and space. Additionally, this method is the least predictable way to dry blooms. The color retention isn’t as good and there is a higher likelihood of some wrinkling or wilting of the flowers.
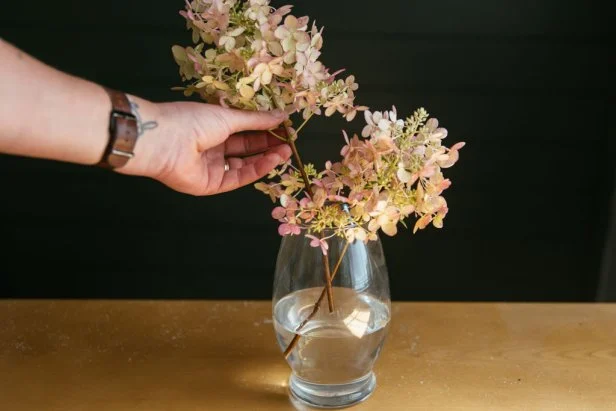
With the vase method, don’t add too many stems to the vase. Leave plenty of room for air to circulate around each bloom.
Method 2: Hang to Dry
Almost as easy as the vase method, hanging hydrangeas upside down is another way to dry blooms. After cutting blooms, tie a string to individual or small bunches of stems and hang them in a cool, dry and dark area. As with vase drying, be sure to leave space for air to circulate around the blooms. If hanging against a wall, rotate the bundle every couple of days. Check on the dryness by feeling for papery petals and a dry, rigid stem. A pliable stem means the drying process isn’t quite complete.
Pros and Cons:
The hang-to-dry method works especially well for green varieties, such as Annabelle blooms that have turned from white to green. Blue and pink tend to fade more when hung, but green blooms seem to hold their color better. While hanging is only slightly faster than drying in a vase, this method also allows for drying multiple blooms at once.
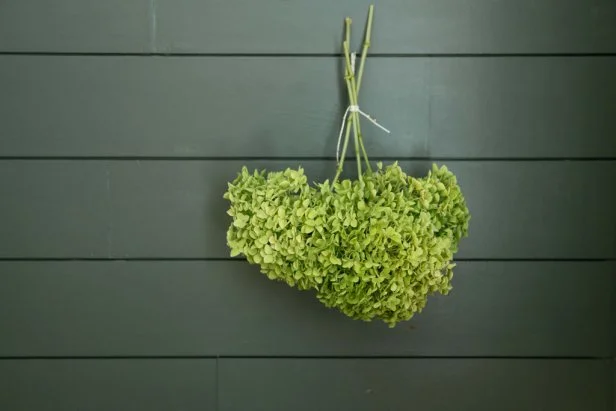
As with vase drying, be sure to leave space for air to circulate around the blooms. If hanging the bundle against a wall, rotate the bundle every couple of days.
Method 3: The Dehydrator
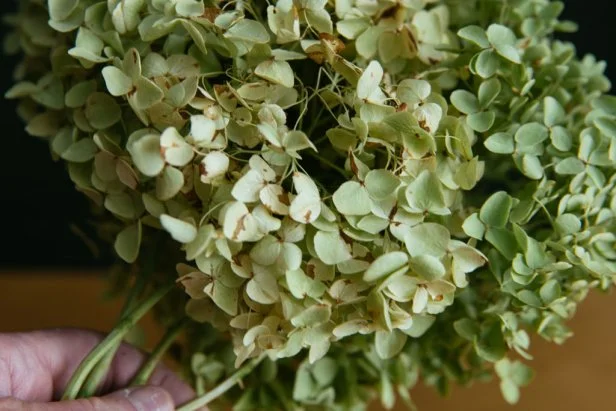
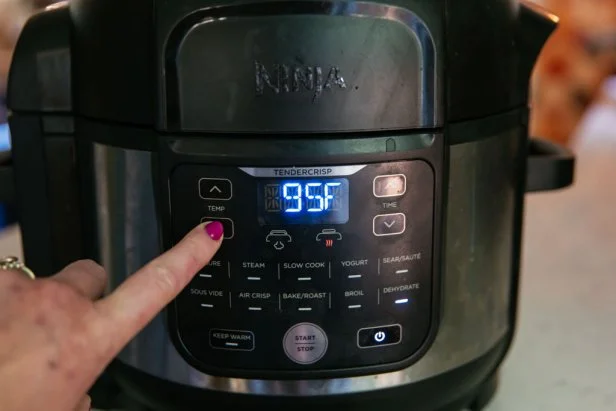
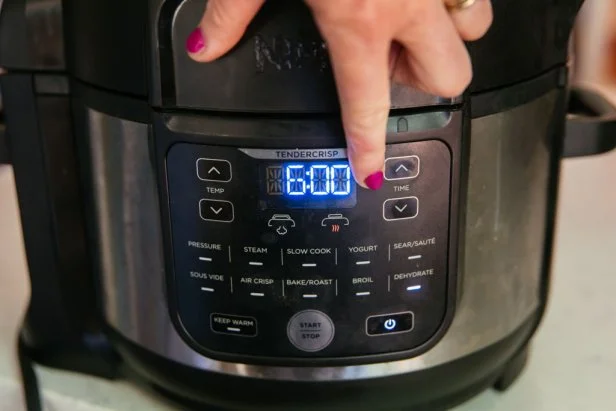
Dehydrators are becoming a more commonly owned appliance, especially since many air fryers and pressure cookers come with a dehydration setting. This setting can be used to dry hydrangeas easily, beautifully and pretty quickly. Place cut blooms into the dehydrator. You can fill the space but do not squish the blooms in the process. Allow the blooms room to breathe. Turn the settings on your appliance to 95 degrees for five to six hours. Check the hydrangea for dry petals every couple of hours. Once most of the petals are dry and papery, the flower can be removed from the machine. The stem might still be a bit pliable. It will continue to dry over the next couple of days but will retain its color and shape with no extra attention.
Pros and Cons:
Using a dehydrator is the fastest method possible to dehydrate hydrangeas. It also has very good color retention, especially for more colorful blooms in shades of blue, pink and purple. Only minimal fading and browning occur. This method has a high success rate in shape retention as well. However, the limiting factor here is the size of your dehydrator. Most units only allow for drying one to three blooms at a time, so it can take a long time to dry enough for a whole arrangement. This method also requires using an electrical appliance, so there is a minimal cost as well.
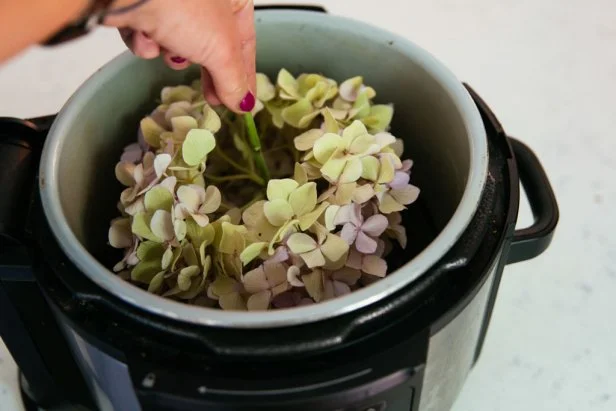
Drying hydrangeas in a dehydrator takes about five to six hours at a setting of 95 degrees.

Method 4: Silica
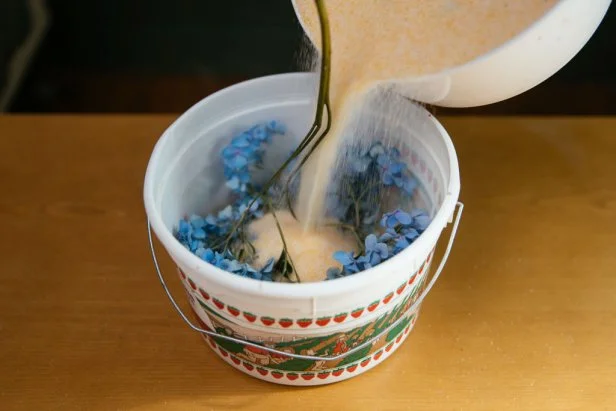
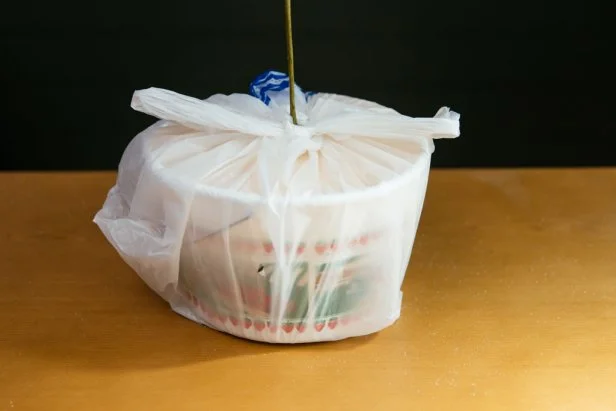
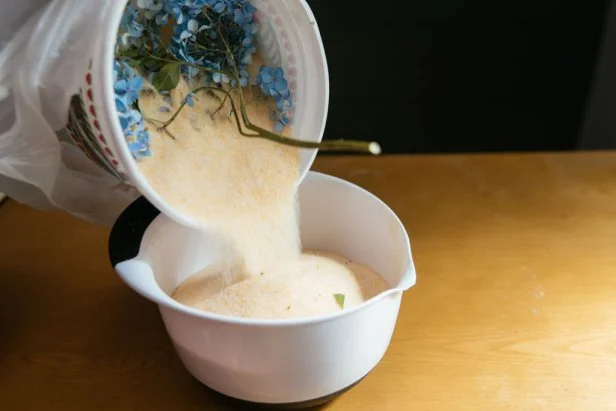
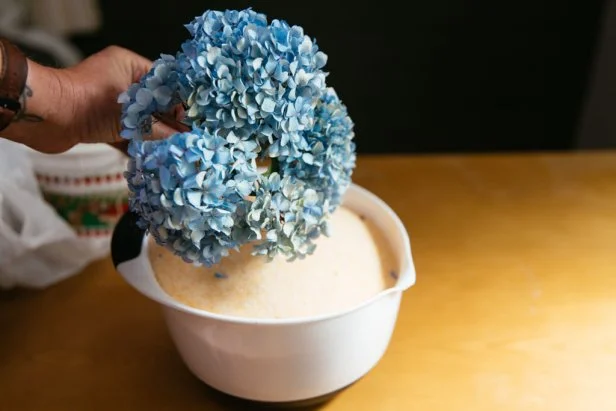
Silica powder is made from finely ground natural materials such as quartz. Because it is highly porous, it is highly absorbent and able to absorb up to 40% of its weight in water vapor. When working with silica powder, always wear an N95 mask to protect against airborne particles. To dry hydrangeas with silica, pour a small amount of silica into the bottom of a large plastic tub or container. Place the blooms on the silica powder and then gently pour silica over the flowers until they are completely covered. Either put on an airtight lid or wrap tightly in a plastic bag. Place in a cool, dry location such as a closet. Check on dryness after 24 hours and then 48 hours by gently digging into the silica and feeling a petal. Once the petals are dry, pour the silica off of the hydrangea into a separate container and gently shake the bloom to remove any residual powder. Silica powder can be reused multiple times and can then be “recharged” by microwaving. Follow package instructions.
Pros and Cons:
Submerging hydrangeas in silica produces, by far, the most vibrant blooms with the best shape retention. The dried hydrangeas that come out of the silica are nearly identical to the fresh ones that go in. The rate of success is nearly 100% for blooms that were picked at the optimal time. Drying with silica, however, is the most costly of the four methods. A 6-pound bag of silica costs around $30 and will only cover one or two blooms at a time, depending on the size. Additionally, while it isn’t the slowest path to dried flowers, it also isn’t the fastest, taking up to two days to complete the process. Finally, it is also a bit messy (Silica gel is a very fine powder and thus slightly difficult to control.), and it requires protective gear to avoid inhaling harmful dust particles.
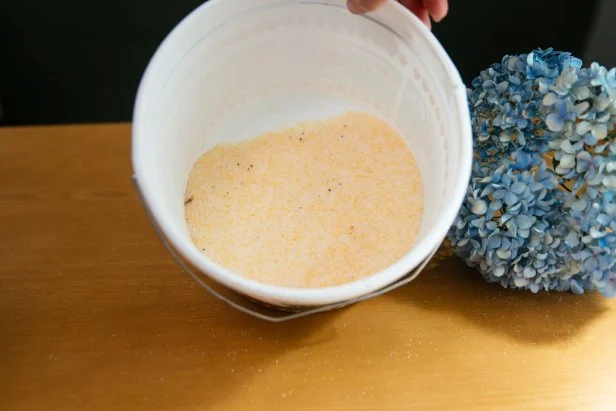
Drying hydrangeas with silica takes 24 to 48 hours. Silica powder does cost about $30, but it can be reused multiple times.
Jennie Andrews
So, What's the Best Method?
The best method for drying hydrangeas depends on multiple factors, including your available space and resources, types of hydrangeas, time constraints and budget. For drying lots of different hydrangeas, using a mix of all of these methods may create the best balance of efficiency and beauty. Dried hydrangeas can be used in many ways, from an eye-catching dining table arrangement to a garland to a wreath that infuses a little summer into the rest of your year.

Jennie Andrews
The Best Flowers for Drying 21 Photos
Learn how to save more beautiful flowers for dried arrangements or crafts.


